– Adhesive tape
– Copper wire
Tools
– Drill
– Screwdriver
– Wire cutter/stripper
– Soldering iron
– Heat gun
– Marker or pen
– Measuring tape
Building the Tin Can WiFi Antenna
Now that we have everything ready, let’s start building our tin can WiFi antenna.
Follow these step-by-step instructions:
- Clean the tin can thoroughly and remove any labels or residue. Make sure it is completely dry before proceeding.
- Measure the halfway point on the can’s side and mark it with a pen or marker. This will be the location for your N-type connector.
- Drill a hole at the marked spot. Ensure the hole is just big enough to fit the N-type connector snugly.
- Insert the N-type connector into the hole from the outside of the can, then secure it in place using screws.
- On the opposite side of the can, drill a smaller hole for the coaxial cable to pass through. Make sure it aligns with the N-type connector.
- Strip the coaxial cable, revealing the inner wire and shielding.
Attach the inner wire to the center pin of the N-type connector and solder it in place.
- Slide the heat-shrink tubing over the soldered connection and use a heat gun to shrink it, providing insulation and protection.
- Connect the shielding of the coaxial cable to the metal surface of the tin can.
You can do this by soldering a short length of copper wire from the can’s surface to the shielding.
- Insulate the soldered connection using adhesive tape to prevent any short circuits.
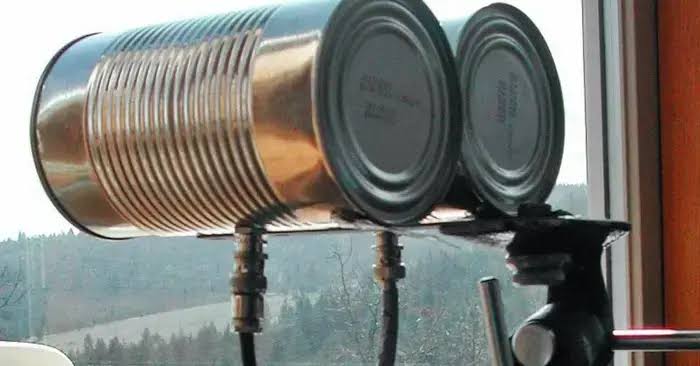
- Your tin can WiFi antenna is now complete! Connect the other end of the coaxial cable to your WiFi router or access point.
Testing the Antenna
After assembling the tin can WiFi antenna, it’s time to test its effectiveness.
Follow these steps to ensure optimal performance:


